Using Google SSO to Log in to Bob! Desk (SAML 2.0)
Here are the steps to connect to Bob! Desk via Google SSO:
- Log in to the Google Admin Console with an administrator account. Then go to the left sidebar menu “Apps” and then “Web and mobile apps.”
- Click on “Add App” and select “Add Custom SAML App.”
- Enter the informations related to Bob! Desk (for example, as shown below) and click on continue.
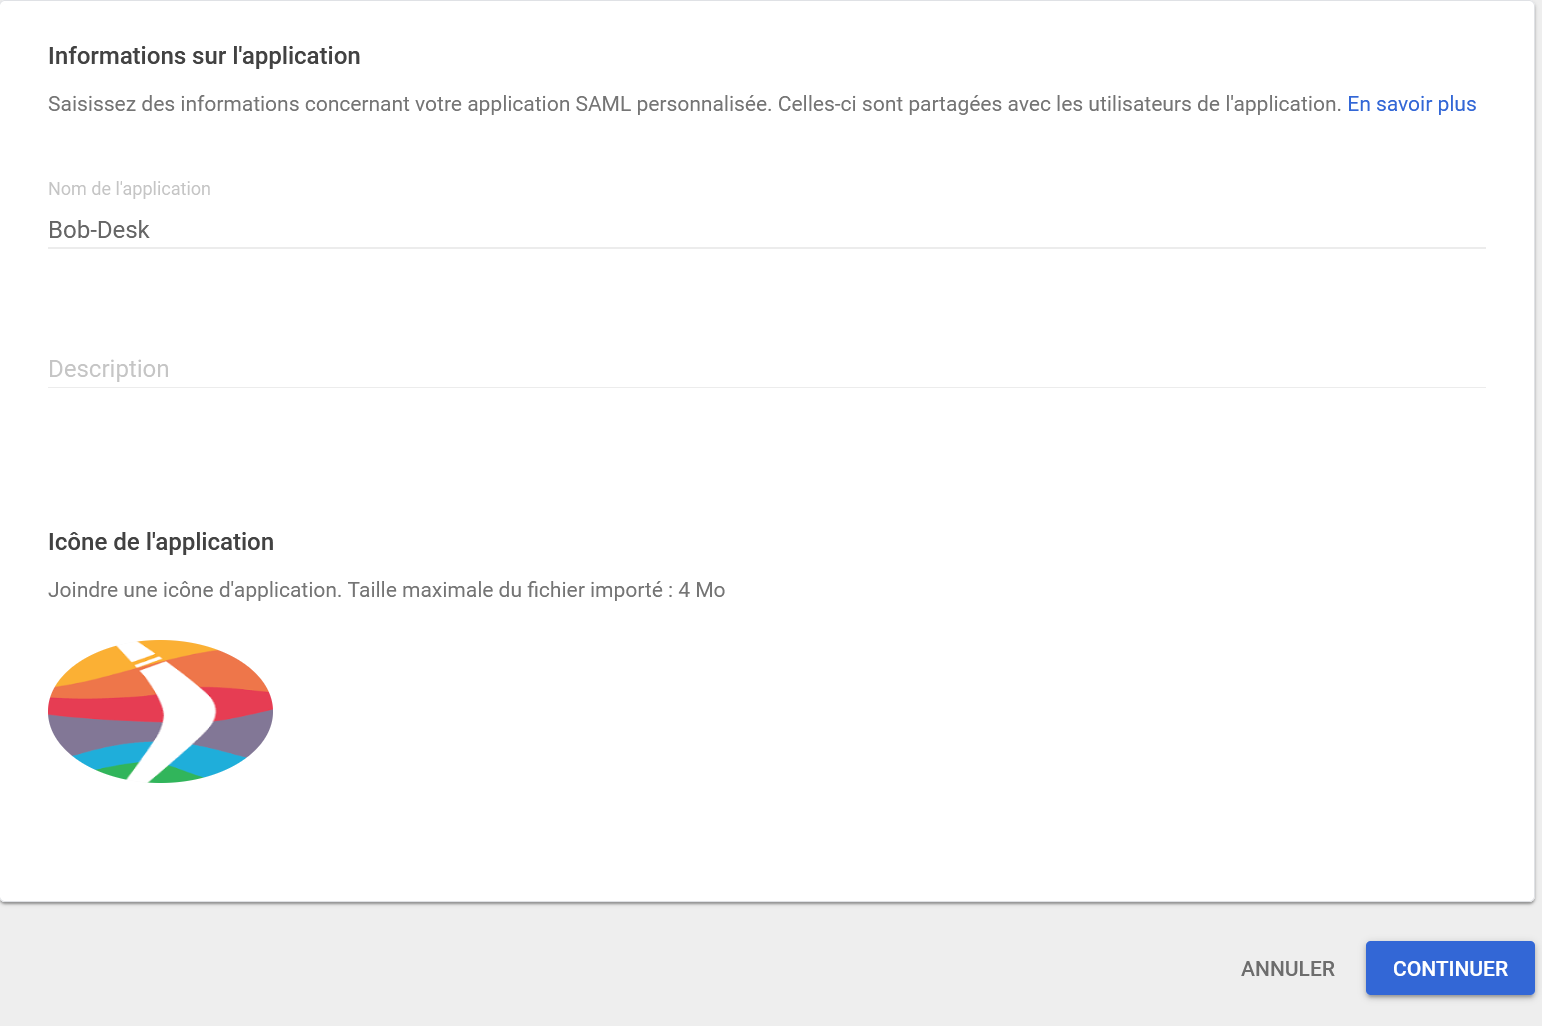
-
Click on the “Download Metadata” button in option 1. An .xml file will download, which you need to keep to send to the Bob! Desk technical team, then click “CONTINUE.”
-
In the next form, enter the following ACS URL and Entity ID:
- ACS URL: https://general-api.bob-desk.com/auth/v1/sso/saml/acs
- Entity ID: https://general-api.bob-desk.com/auth/v1/sso/saml/metadata
- Start URL: https://www.bob-desk.com
- Click on “Signed Response.”
Set the Name ID format to “PERSISTENT” and ensure that the Name ID is “Basic Information > Primary email.”
The registration screen should look like this:
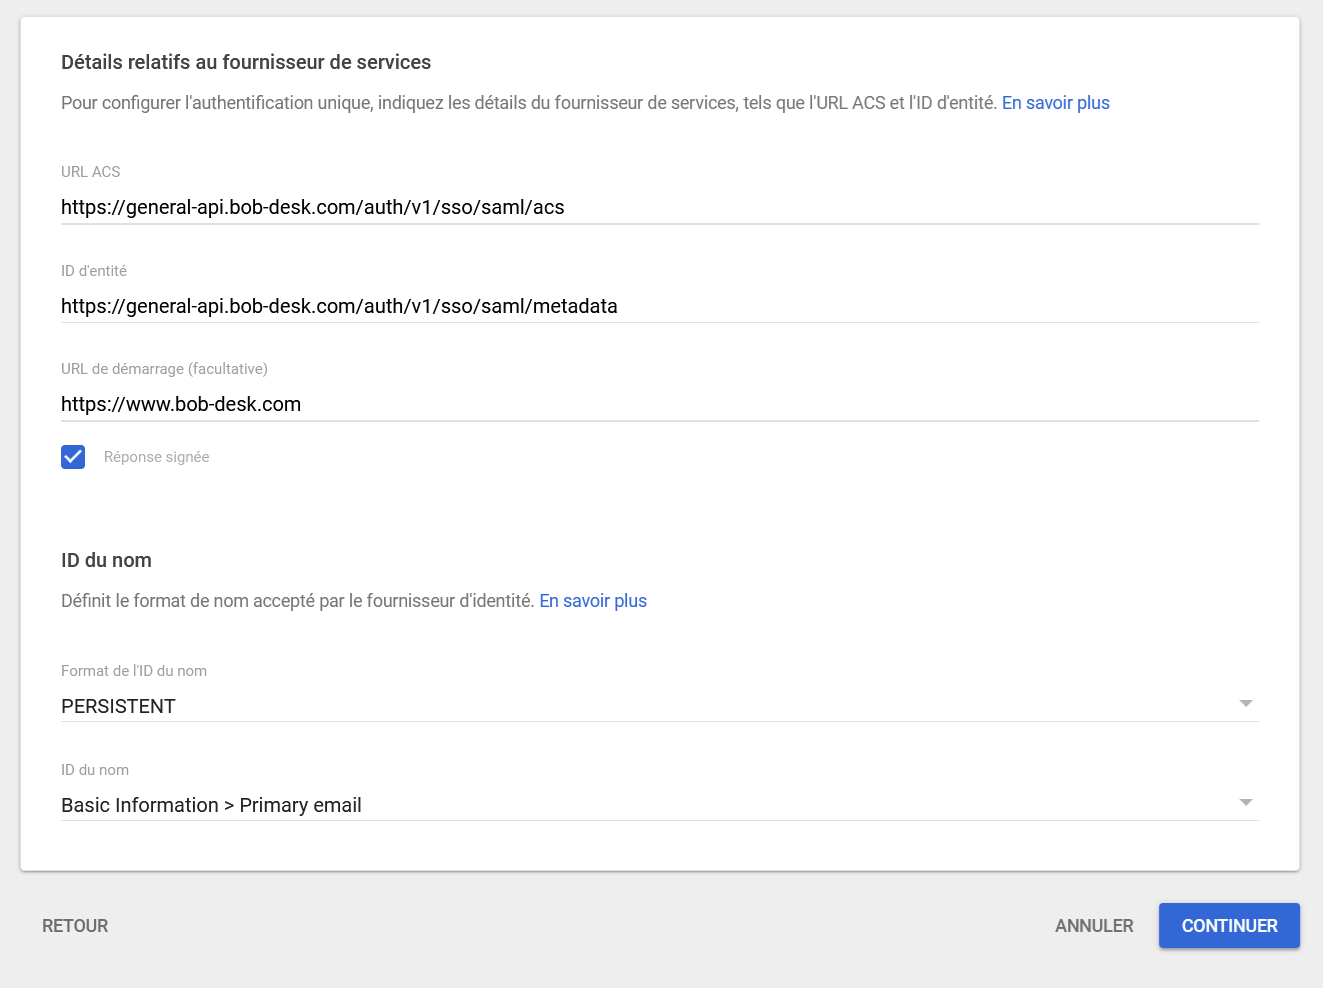
Then, click “CONTINUE.”
- Fill in the mapping attributes exactly as follows:
- Click on “ADD MAPPING” four times.
- Fill in the four created fields as follows:
| Basic Information | Application Attributes |
|---|---|
| Primary email | |
| Primary email | user_name |
| First name | first_name |
| Last name | last_name |
Then, leave the fields under the “Group Membership” category empty.
The final registration screen should look like this:
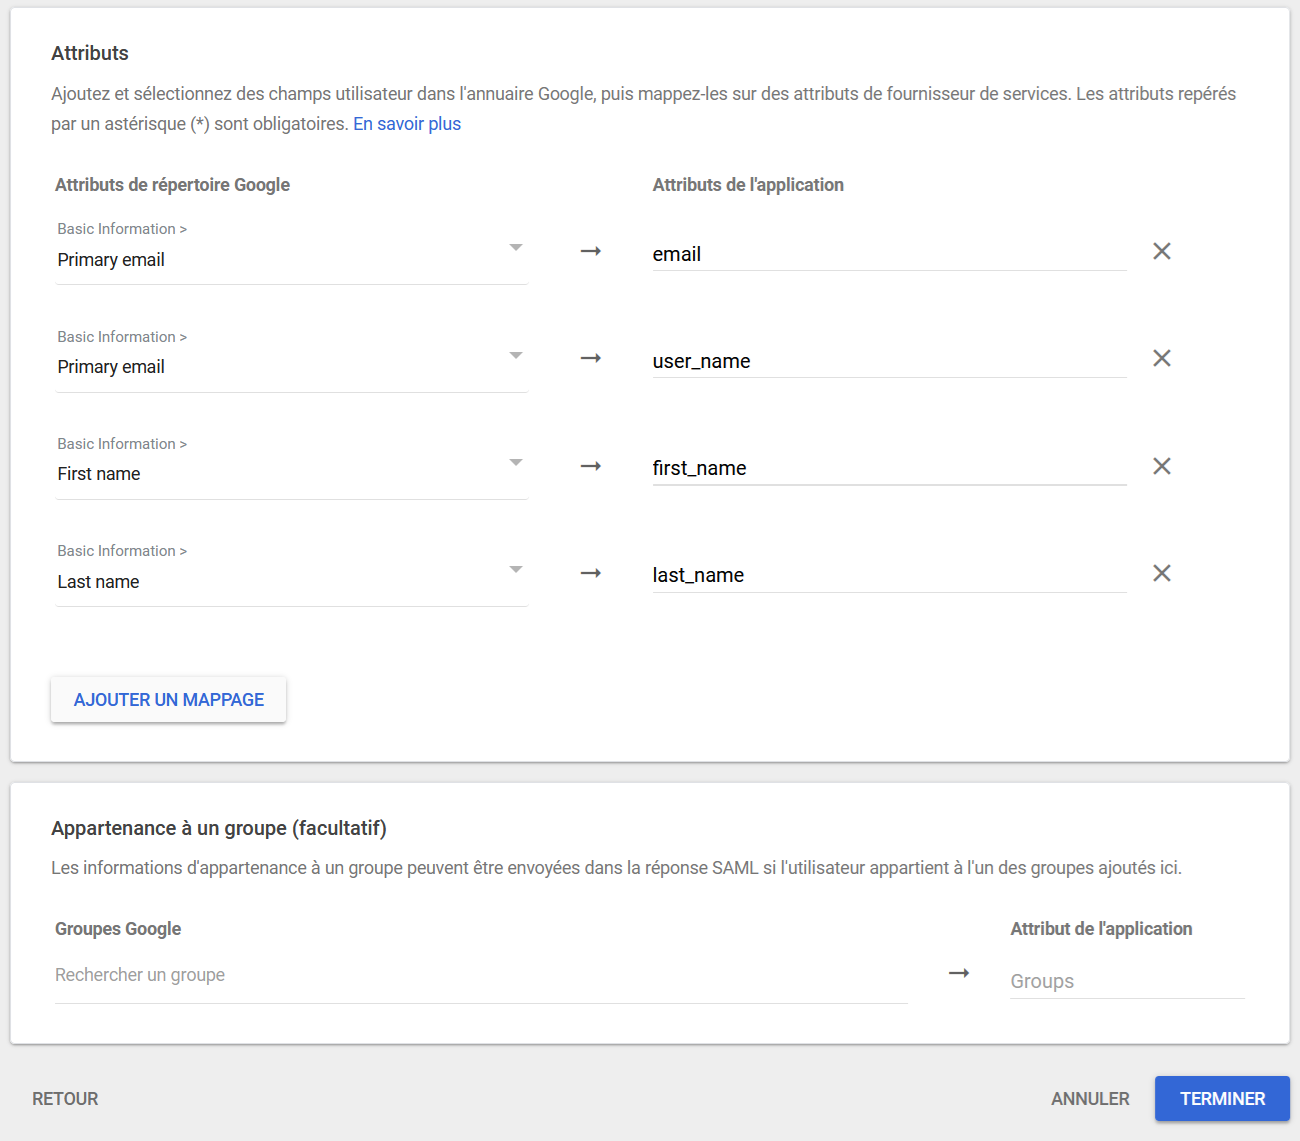
Finally, click “DONE.”
- Once the process is complete, send an email to tech@bob-desk.fr with the downloaded .xml metadata file attached (from step 4) and containing the complete list of domains for the email addresses that will need to log in to Bob! Desk.
(For example: if there are email addresses needing to log in to Bob! Desk like person@company.com and person@company.fr, please provide the domains “company.com” and “company.fr.”)